Ubuntu20.04 LTSにVisual Studio Codeをインストールする方法です。
※Ubuntu22.04へのインストールはこちら
https://code.visualstudio.com/に移動し、「↓.deb」をクリックするとダウンロードが始まります。
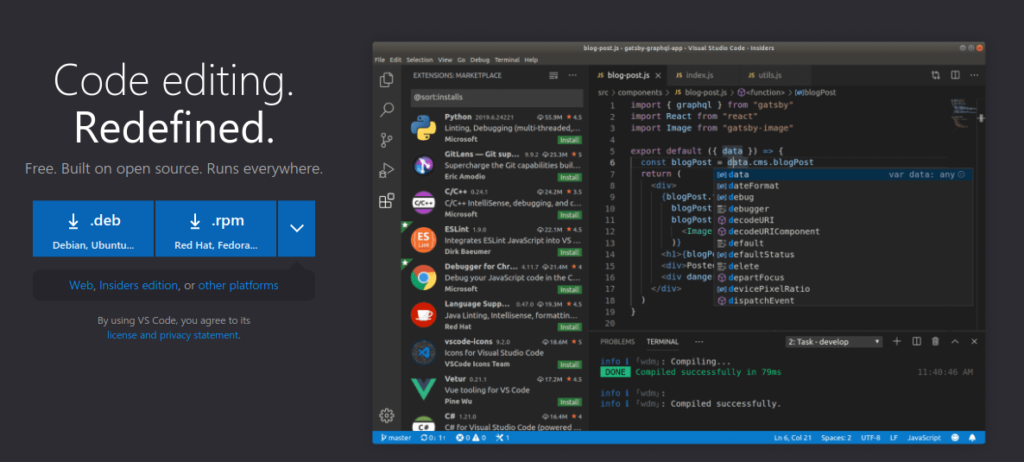
ダウンロードが終わったら、Downloadsフォルダに移動し、ダウンロードしたファイルをダブルクリックするとインストール画面が起動します。
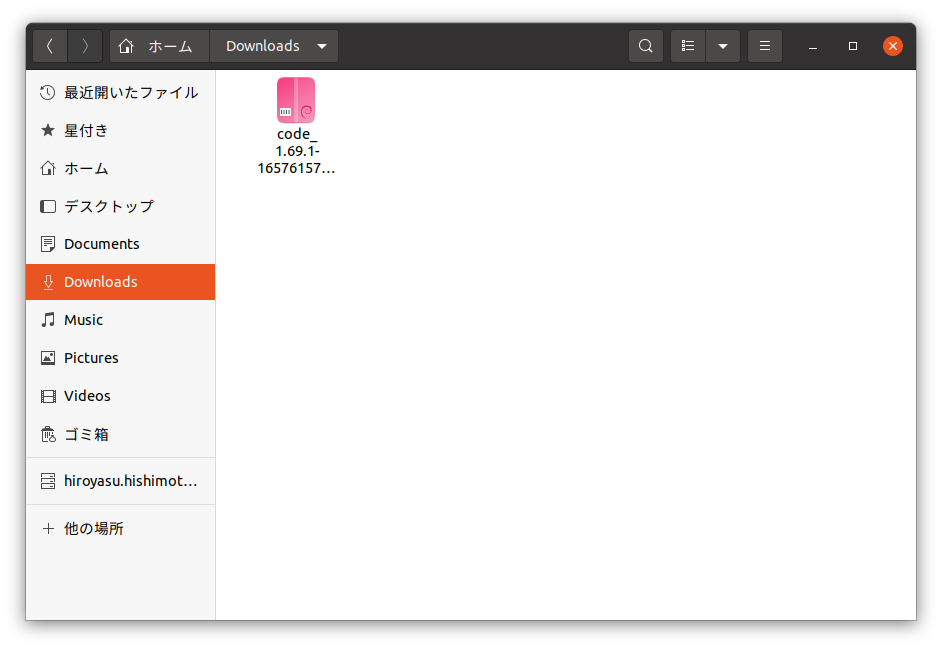
インストールをクリックするとインストールが始まります。
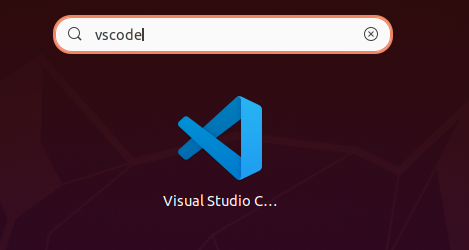
トップバーの左にあるアクティビティをクリックし、検索欄にvscodeと入力するとアイコンが表示されます。
アイコンをクリックするとVisual Studio Codeが起動します。
Visual Studio Codeはデフォルトの表示言語が英語なので、日本語表示にしたい方は拡張機能の「Japanese Language Pack for Visual Studio Code」をインストールしてください。
 【Visual Studio Code】メニューを日本語にしよう(Japanese Language Pack for Visual Studio Code)